One of the key things to remember the better we plan the easier it is to model, along with a simple mesh.
When modelling we have to be careful not to make the mesh too complicated, this will result in more more lines and it being a high poly, which is bad. The less the poly the better the model is. We also have to make sure we have correct topology and the line are in the right places so our model doesn't break.
For our models we are going to be learning how to box model, this means that we start with a box and then we extrude and shape it too our character.
Modelling the face -
https://www.youtube.com/watch?v=xls25e08sSg
sculpt geometry -
https://www.youtube.com/watch?v=FqZknwhJ9BI
Tools in May -
- Extrude - allows you to drag out extra geometry
- Bridge - fill holes in the model, or connect points
- Insert Edge Loop - This allows you to create an edge all the way round your model
- Merge tool - lets you connect points
- Mirror Geometry - Allows you to mirror your model since we only model half
- Soft Select - Lets you move points, while also affecting the surround area
Class Work:
As Emily explained to us how to start creating our models we followed and created a test model to see how to use everything and to become comfortable with it. We are using box modelling.

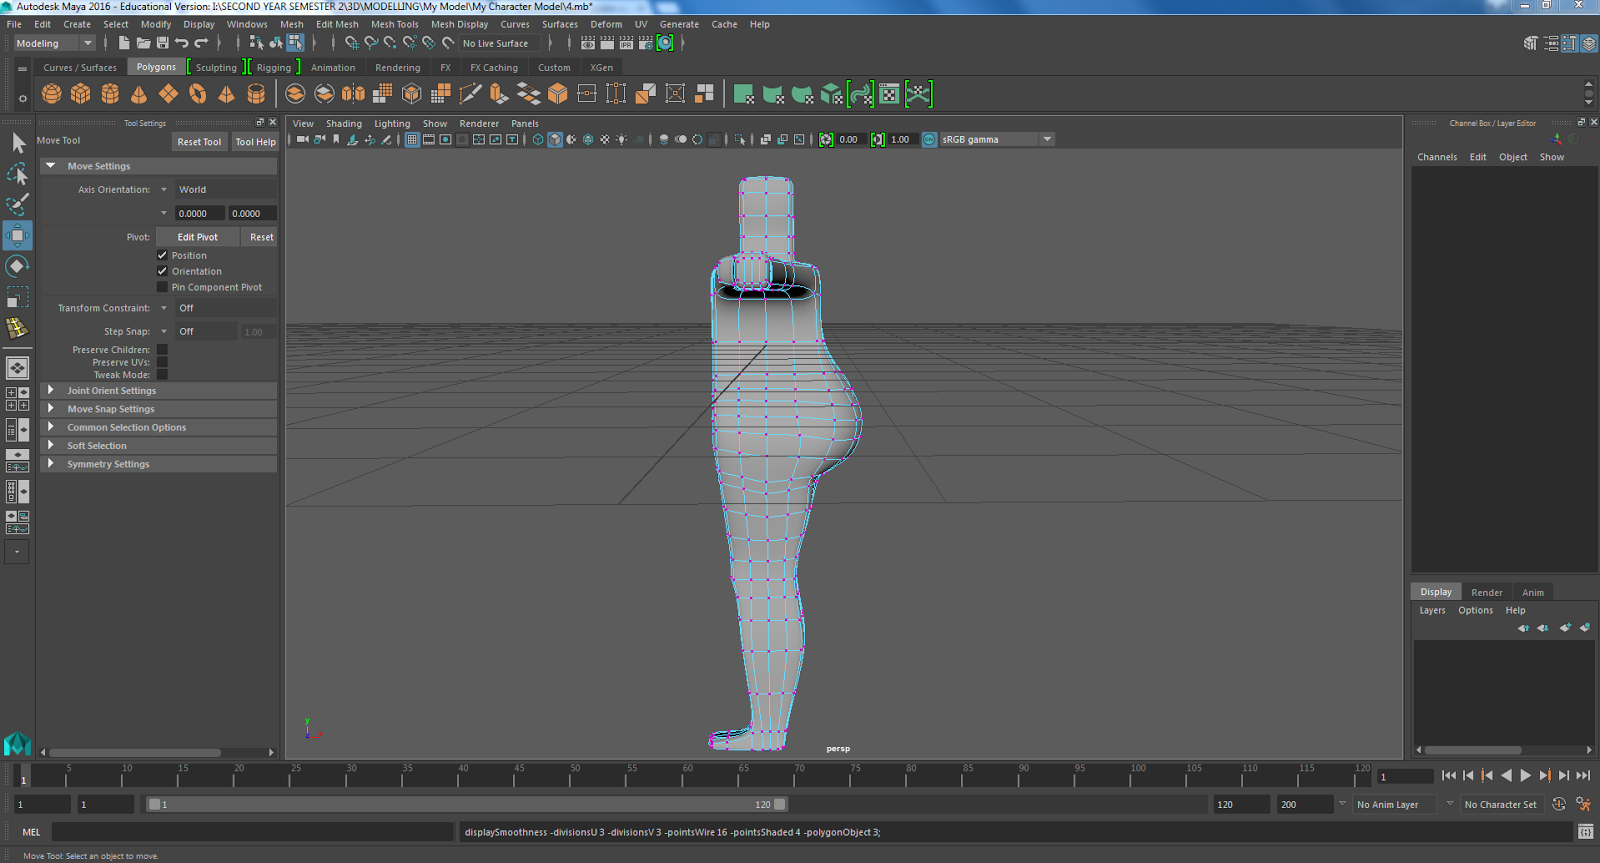
The above pic is after we had blocked the female body out and had mirrored it to save time and to make it identical on both sides.

The picture above was learning where to start with the face and I had then started to cry and create the eye and nose.
After testing these out I felt comfortable enough to start modelling my own character I had chosen

This was the character I had drawn and wanted to model. She is a plus size ballet dancer. I chose this character as I am interested in this area and wanted to push myself with proportions and body shapes.
I began by printing the above picture off so I could draw the edge flow onto it to give me a rough idea of how to start and where some of the edge floe would go.
I looked at a reference off the internet which Emily said was a good reference so i could get a better understanding of the edge flow.

I then tried to draw it onto my character


I struggled to understand where some of the curves were positioned so I decided to merge my image with the reference.

Although eh reference is not the right size and proportion to mine this image was still very helpful with seeing how the edge flow would look like on my character.
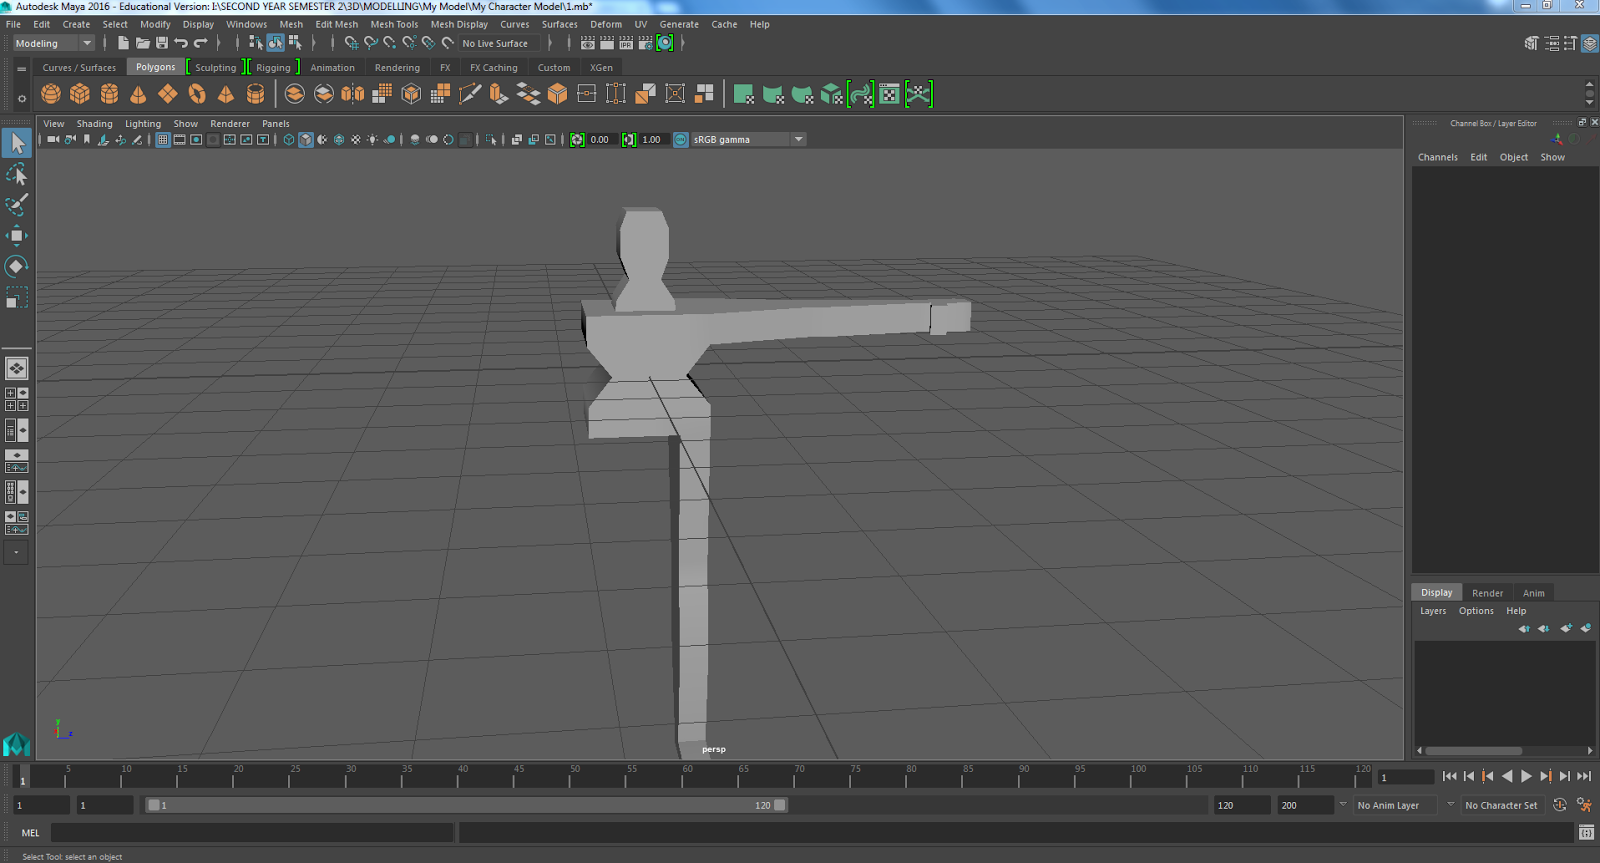
I started out by blocking out the model like in the testing part of the lesson.
Once I had this i wanted to work on the hip and leg first starting to make it look more like my character.


Smooth
I know I still have much to do but I am pleased with what I have done so far.
No comments:
Post a Comment